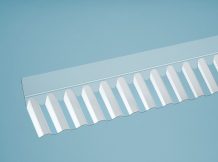

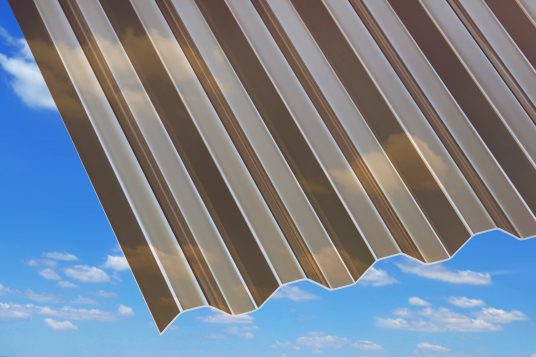


Acrylic corrugated sheets for high quality roofing
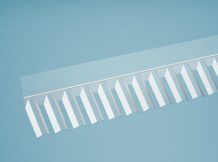
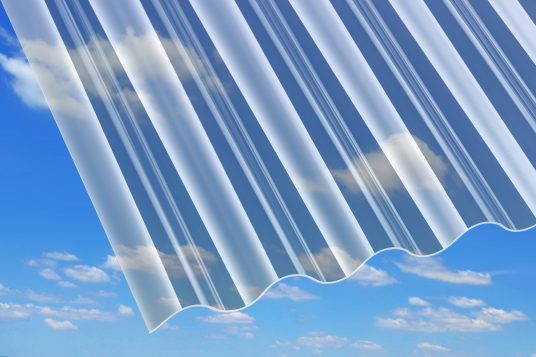
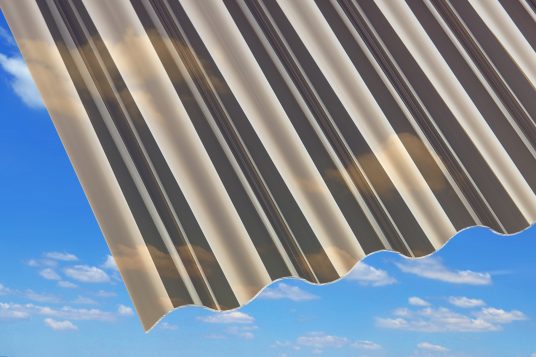
Acrylic corrugated sheets from Gutta impress with their quality. The corrugated sheets are weather-resistant and durable, while possessing a brilliant, high-quality appearance. Thanks to a special elastomer additive, the plates are exceptionally shock-resistant, with superior break and hail resistance.
Make a brilliant impression with acrylic
Yet another advantage: Due to its glossy, non-porous surface, dirt adheres less to acrylic than to other materials. Thus, our 1.5 mm acrylic profile is largely maintenance-free.
Light panels with a 30 year warranty
Our 1.5 mm acrylic profile comes with a 30 year warranty for UV resistance, and a 10 year warranty for light translucence. Detailed warranty conditions, in particular warranty requirements and limitations, can be found under Downloads. Upon request, warranty conditions will be sent in text form. The sheets have normal flammability according to DIN 4102 B2. For greater demands on appearance and weather or hail resistance, we recommend 3 mm plates.
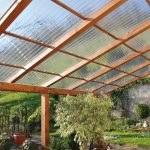
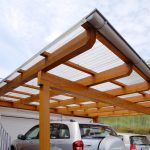
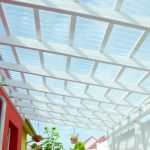
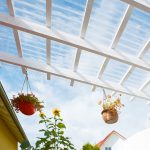
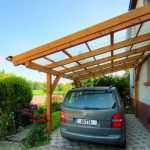
Beautify your home with acrylic corrugated sheets
Our brilliant and transparent 1.5 mm profile plates are the right choice to bring your individual ideas to life. Gutta light panels can be put to a wide variety of uses around your home – wherever attractive, durable and shock-resistant roofing is required. Acrylic sheets can be used for any number of purposes, whether it is terraces, balcony roofing, pergolas, resilient, weatherproof carports, canopies, or entrances.
Simple, solid, and high-quality: Laying corrugated sheets
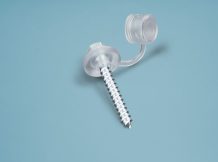
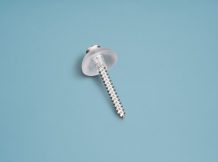
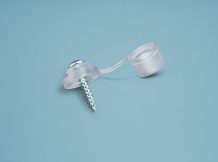
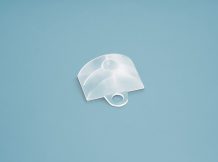
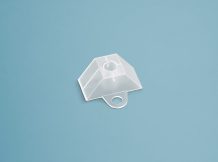
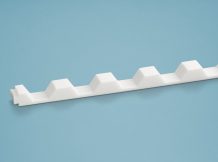
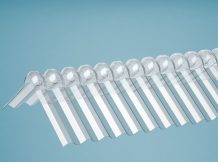
Handling Gutta 1.5 mm acrylic corrugated sheets is very easy. To fasten, either use acrylic screws or VA screws, in conjunction with the appropriate spacers. With plates 4 metres and longer, calottes must be used for installation. Following our step-by-step instructions, it is quite simple to lay corrugated sheets:
- Plan for a roof pitch of 10° (minimum 7°).
- First, build a substructure with wooden or metal slats of 40 x 60 mm.
- The distances between the slats should be max. 80 cm for average snow and wind loads. The distance should be reduced accordingly for regions with higher loads!
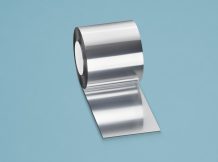
- Subsequently, cover the slats with silver masking tape.
- The next step is to lay the acrylic corrugated sheets. Beginning at the eaves, lay the corrugated sheets towards the roof ridge, always working against the prevailing wind direction. Stagger the sheets in order to avoid corner cuts or quadruple overlaps. Begin the first row with a whole sheet, and the second with a half sheet.
- Continue this process, alternating the sheet length each time.
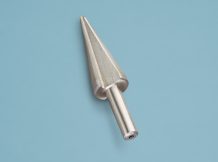
- Next, pre-drill the plates with a plastic hole cutter.
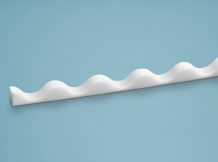
- The cross coverage should be one wave, or two waves for a roof pitch below 10°.
- The longitudinal overlap should be min. 15 cm, or 20 cm for a roof pitch under 10°.
- Next, attach the sheet with screws or additional calottes at each third wave crest, and each second crest along the edges and overlap areas.
- Plan on 10 to 15 fixtures per square meter.
- You will subsequently be able to fit molded parts from our comprehensive range of accessories, as required.